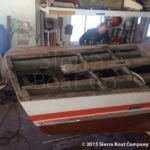
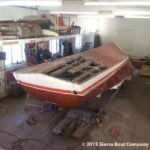
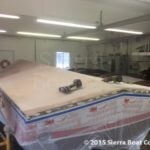
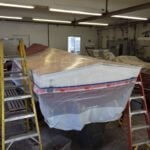
Right at the end of the boating season of 2015 on Lake Tahoe, one of our customers had an unfortunate incident while piloting his Riva Aquarama through the drought stricken waters of the Lake Tahoe. While running at a moderate speed he impacted a boulder that was just under the surface of the water. This extreme impact damaged much of the boats running gear as well as punching a large hole in the bottom of the hull. This incident happened in a remote location on the lake and salvage crews were unable to reach the boat till the morning. Fortunately he was able to limp the boat to the shore and beach it so that she would not fully sink and be submerged.
Although the Riva family had been building boats since the 1800’s it wasn’t until the late 1940’s that Carlo Riva began building his own mahogany runabouts. Since he began runabout production in that era he was able to step back and look over all of the popular runabout designs of the past and choose to incorporate the features and designs that he like the best. Carlo was an innovator, he personally designed each boat along with hand carving the form for each and every piece of hardware first out of wood. Riva runabouts were designed and built to be stout ocean going vessels, and there are many features found in Rivas that are not found in earlier boats.
Carlo was also a firm believer in Immanual Nobel’s invention of plywood, and insisted that plywood served a purpose in the marine industry. Plywood had already been used to produce hulls for race boats before the war, these boat though were built to race and subsequently did not spend that much time in the water. Unfortunately for those early boats prolonged contact with the water caused the plys to delaminate and provided disastrous results. Carlo with the help of Remo Lodi, the technical advisor for Italy’s leading aircraft plywood manufacturer, together experimented and in mid 50’s Marine Plywood was born. Carlo Riva knew that a “plywood” boat would fail if brought to market, so he renamed his plywood “Armored Laminate”. For production they used Phenol Adhesives for the bottoms, Resorcinol for the bulwarks and Melamine resins for the decking piles. Starting in 1956 Plywood was used for all bottoms in a single sheet per side.
Riva Production began with caravel planked boats, by the 1960’s when the Aquarama production began Carlo Riva had perfected his Armored Laminate. These Armored Laminate Hull sides consisted of triple planked mahogany, two diagonal under layers followed with the finish planks on top. To achieve this the three layers were glued together on a huge press, the press consisted of one fixed side with the other side being an inflatable bladder made by the Pirelli Tire Company. The fixed half combined with the compressed airbladder provided the mold with uniform pressure across all points. This process allowed Riva to produce each hull side in one piece. From 1962 to 1996 the Aquarama went through some changes, as the years went on Carlo was forever trying to achieve the ultimate ride. Since these boats were designed for the rough waters of the Mediterranean Sea they boast many sea worthy features, from the deep vee hull shape to the scuppers in the cockpit that allow any water from taking a wave to be expelled out the sides of the boat.
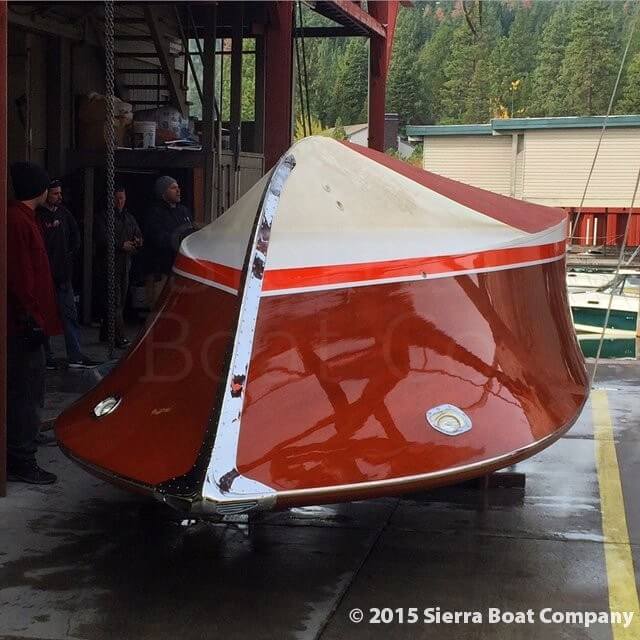
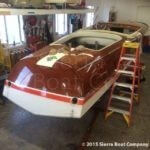
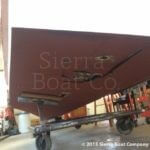
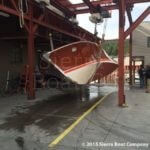
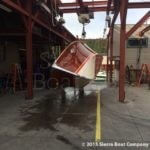
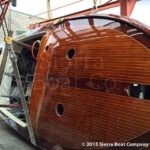
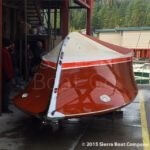
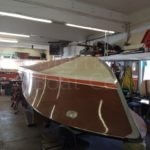
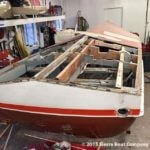
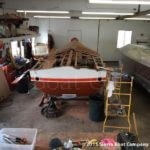
We begin this project with the boat right side up, first thing we needed to accomplish was to disassemble the complex interior. This consists of the removal of the seats and much of the cockpits interior paneling, as well as the engines and all of their running gear. The next step is to install a steel frame work that we will use to secure the boat to a rolling cart while it is upside down. With everything removed and the new frame installed, we bring the boat out to the gantry. Using our outside hooks and two belts, raising one side while simultaneously lowering the other allows us to roll the boat over. Once the boat is hanging with its keel in the air we take this time to install the wheels to the new framework so we can move the boat around the shops.
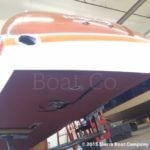
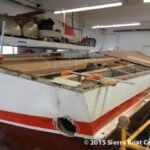
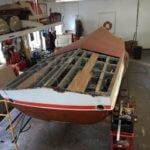
Once the boat is back in the shop John ”Mic” McAndrews our refinish technician leading this project, along with the help of his apprentice Nick Fejer, first have to remove the damaged portion of the bottom. This is particularly difficult on a Riva due to the way that it is constructed with a brass chine cap along with all of its burly frame work. First all of the screws need to be found and removed, many of them break and need to be taken out with a screw extractor. Once this chine cap is off Mic chooses a spot in the damaged bottom where the repair will be brought out to. The damaged portion of the bottom is then removed. With the marred plywood now off the boat we are able to assess how bad the damage really is to the Aquarama’s framework.
It turned out that there was some damaged frames as well as the shaft log plates that were totally destroyed. Also equipped on the Aquarama is the prop wash plate, this is a brass plate that protects the bottom from cavitation from the running propellers. With the exception of some lightly damaged frames all of the broken wood was replaced with new mahogany. To replace the framework would have been too time consuming so instead we repaired the cracks and sistered the damage with new mahogany on either side. The frame work on these Aquaramas is intricate with many small precise pieces many of which were broken and in need of replacement.
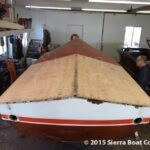
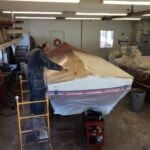
Once all of the frames were repaired or replaced we took the opportunity of the open bottom to get some coats of bilge paint on all of the newly installed wood. Now that the repairs are done and painted it is time to install the replacement plywood. The seam at the repair of the plywood bottom is joined with large butt blocks on the inside of the bilge, both sides being fastened with large copper rivets also known as boat nails. Rivets have been used in ship and small craft production form the earliest days, using them in the butt blocks insures that the repair will not let go and will be solid for generations to come. With the new wood completely fastened down Mic completely covers the repair with fiberglass matting and continues to wet the entire area with West System 105 epoxy. This first layer of epoxy paired with the layer of fiberglass will serve as the strength of the repair, it covers all of the new plywood along with extending past the seam of the repair. Much of the chine in the repaired area has to be rounded over to allow the fiberglass matting to lay flat as it comes over the hard chine and up the hull sides. There will then be two more subsequent layers of epoxy added. These next coats are both mixed with West System 410 fairing filler, the following layers will be used to build the chines back up also to make the bottom fair and the repair invisible.
While the boat remains upside down, with the repair complete we now take this time to paint the bottom. Riva originally used red anti-fouling paint for the running surfaces and white for all of the other fashion surfaces that would be seen. Not only is the anti-fouling paint highly toxic to the environment it is also unnecessary in the pristine waters of Lake Tahoe, so in this case we substituted the anti-fouling for Pettit 1959 racing bronze coating. The white will still be used on the fashion surfaces followed up with an orange water line to match the Aquarama’s interior trim.
Thanks again for your interest in our projects! Be on the lookout for our next segment on this Riva where we will be restoring the transom as well as stripping staining and varnishing the hull.
